Illustration Elements
Illustration Éléments
Context
This lesson was based on mechanical engineering and the design cycle of planning, building, testing, reflecting, and then making changes to the developing product.
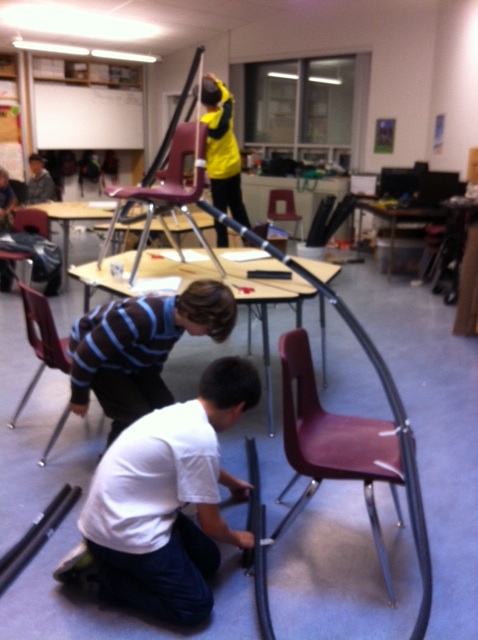
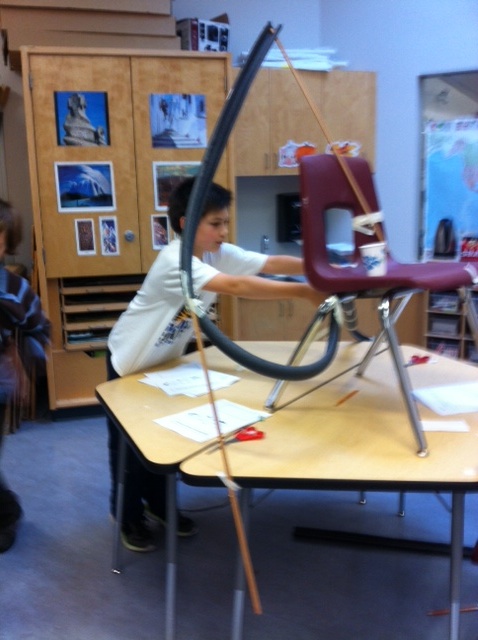
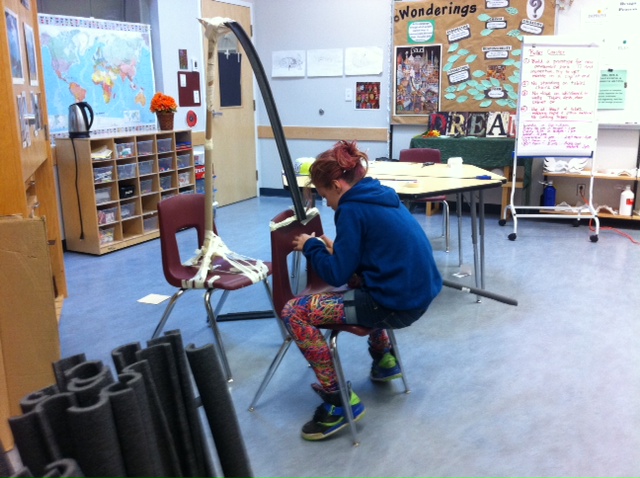
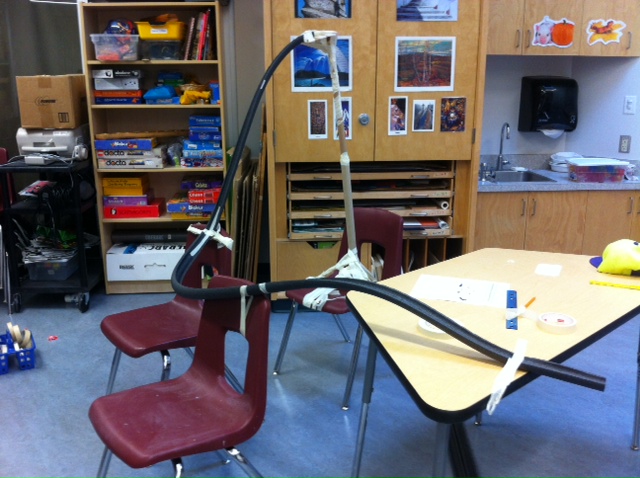
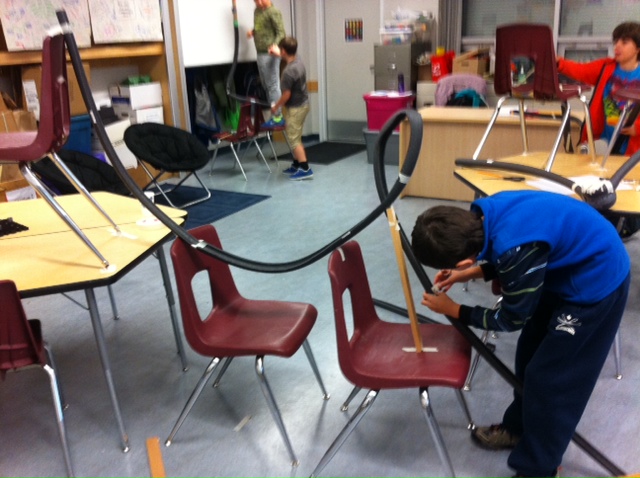
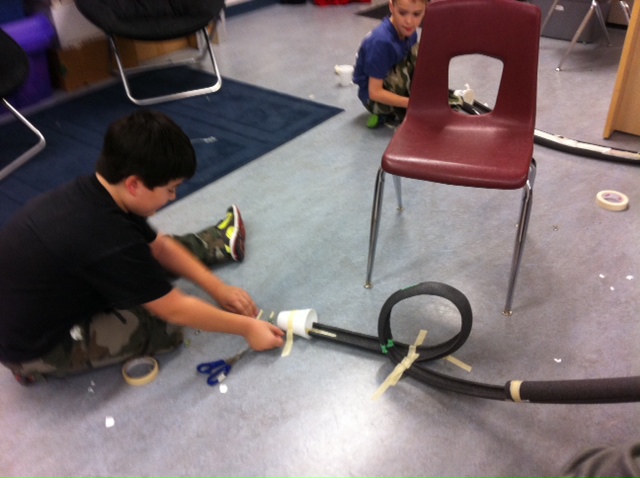
Students were challenged to build a marble roller coaster. They watched a video on a hydraulic-powered roller coaster and then discussed the physics behind these machines including momentum, G forces, and kinetic and potential energy. Students brainstormed what they would need to take into consideration while building. Their ideas included turn banking, friction, and starting from a high point to create enough momentum. They also talked about the constraints in terms of time (one class period), space (the whole classroom, chairs, table tops), and materials (marbles, pipe insulation tubing cut in half, masking tape, small wood pieces for supports if needed). Students then sketched a plan and built their roller coasters with a partner.
Over the course of one class period they built, tested, and adapted their designs. They then shared their roller coasters with other groups and reflected on the process of creation. The teacher asked questions that would gently point their thinking in the right direction, such as, “Have you considered all of the materials available?” or if a marble didn’t make it all the way down a track, “What would you add to that turn to give it more momentum?” If the marble went off the track, “What could you do to adjust the marble’s momentum?”
Students were given the opportunity at the end to test other groups’ coasters to evaluate their effectiveness. There were criteria given to students to provide some guidance through a point system, with credit given for overall length, number of loops, height, and other, unique features.
Illustration
Teacher Reflection
Students were on task and actively communicating throughout the activity. Designs started with a quick sketch, but these were adapted as the students tested their creations and problem-solved together. Some students skipped the sketching stage as they wanted to jump right into building the plan in their head. This resulted in a learning opportunity about the importance of planning.
Students were incredibly motivated by the freedom to create something so interactive. I believe that some of the best critical thinking happens when students are playing. In this activity, there wasn’t a separation between playing, creating, and thinking as they were all happening simultaneously. Having students reflect after the activity was important for cementing the purpose of the lesson and helped to enhance student understanding of how the design cycle works and the thinking required.
